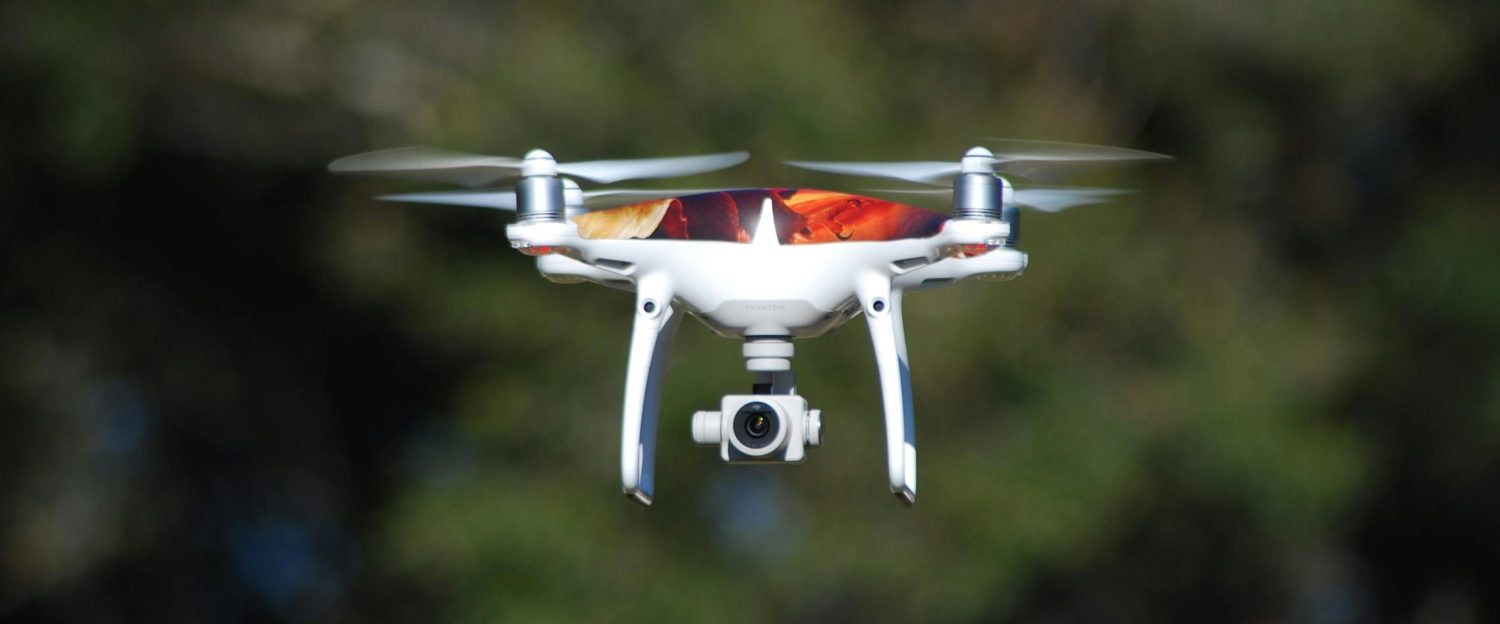
Drones offer remarkable opportunities for aerial photography, videography, & enjoyable flying adventures. However, to keep your drone in peak condition, regular maintenance is crucial.
In this drone maintenance guide we will provide detailed insights on drone health, including cleaning, battery management, firmware updates, and troubleshooting. Follow these best practices enhancing your drone’s lifespan and ensure reliable flights.
Why Drone Maintenance is Essential
Proper drone maintenance isn’t just busywork; it’s a vital aspect of drone ownership that pays dividends in performance, safety, and longevity.
Enhanced Performance: A well-maintained drone delivers noticeably smoother flights and better handling. Clean propellers and motors lead to stable hovering and more efficient power usage. You’ll immediately feel the difference between a properly maintained drone and a neglected one.
Improved Safety: Regular inspections help prevent mid-flight failures that could cause crashes. By checking for wear and tear, such as cracked propellers or loose components, you create a safer flying experience. A drone that, by surprise, fails mid-flight isn’t just a lost investment but could pose dangers to people and property below.
Extended Lifespan: Drones represent a significant investment. Regular cleaning and timely replacement of worn parts prevent the cascade of damage that can shorten your drone’s life. Simple preventative measures like keeping dust out of motors and properly managing battery charge cycles can add months or years to your drone.
Cost Savings: Addressing minor issues early is almost always less expensive than major repairs later. For example, replacing a $10 propeller with a hairline crack is far more economical than risking a crash that damages the camera gimbal or frame. These kind of repairs can cost you hundreds of dollars. So, we will try to avoid it.
Compliance and Reliability: Maintenance is a must for commercial drone operators, and it’s often required for regulatory compliance. Even for hobbyists, a well-maintained drone provides consistent performance and reliability that makes flying enjoyable rather than stressful.
How to Clean Your Drone Effectively
Drones naturally attract dust, dirt, sand, and occasionally bug splatter during flights. Regular cleaning prevents these contaminants from affecting critical components.
Essential Cleaning Tools
To properly clean your drone, gather these basic supplies:
- Microfiber cloths: Soft, lint-free cloths that won’t scratch surfaces
- Soft-bristle brush: A small paintbrush or makeup brush works perfectly
- Air blower or compressed air: For removing dust from hard-to-reach areas
- Isopropyl alcohol (70%): For tackling stubborn grime (use sparingly)
Step-by-Step Drone Cleaning Process
- Power Down Completely: Always turn off your drone and remove the battery before cleaning. This eliminates any risk of electrical shorts or unexpected motor activation during cleaning.
- Clean the Exterior: Using a dry or slightly dampened microfiber cloth, gently wipe down the drone’s body to remove dust and fingerprints. For stubborn dirt or sticky residue, lightly dampen the cloth with isopropyl alcohol and gently rub the affected areas. Never use dripping wet cloths or allow moisture to enter any openings.
- Address Motors and Vents: Motors are particularly vulnerable to dust accumulation. Use your soft brush or gentle puffs of air to clear dust from motor vents, cooling openings, and other small spaces. Always use short bursts of air from a distance to avoid forcing debris deeper into components.
- Clean and Inspect Propellers: Wipe each propeller blade with a microfiber cloth, removing any dirt or insect residue. As you clean, inspect each propeller carefully for cracks, chips, or deformation—damaged propellers should be replaced immediately, not cleaned and reused.
- Care for Camera and Gimbal: The camera lens requires special attention. Clean it with a lens pen or by lightly wiping with a clean microfiber cloth. For smudges or fingerprints, you can slightly moisten the cloth with lens cleaner, but avoid getting any liquid inside the gimbal mechanism. While cleaning, ensure the gimbal moves smoothly through its full range of motion.
- Check Arms and Landing Gear: While cleaning, inspect the arms, landing gear, and any folding joints for accumulated dirt or damage. Remove any sand or grit from hinges and check that all screws are tight.
- Final Inspection: After cleaning, take a moment to visually inspect the entire drone one more time, ensuring you haven’t missed any areas and that everything looks properly aligned and secure.
Special Situation Tip: If you’ve flown over saltwater or in wet conditions, thoroughly clean. Salt and moisture can rapidly corrode electronic components. Wipe down all surfaces with a slightly damp cloth, followed by a dry one, and allow extra time for the drone to air out completely before your next flight.
Drone Battery Maintenance for Longer Life
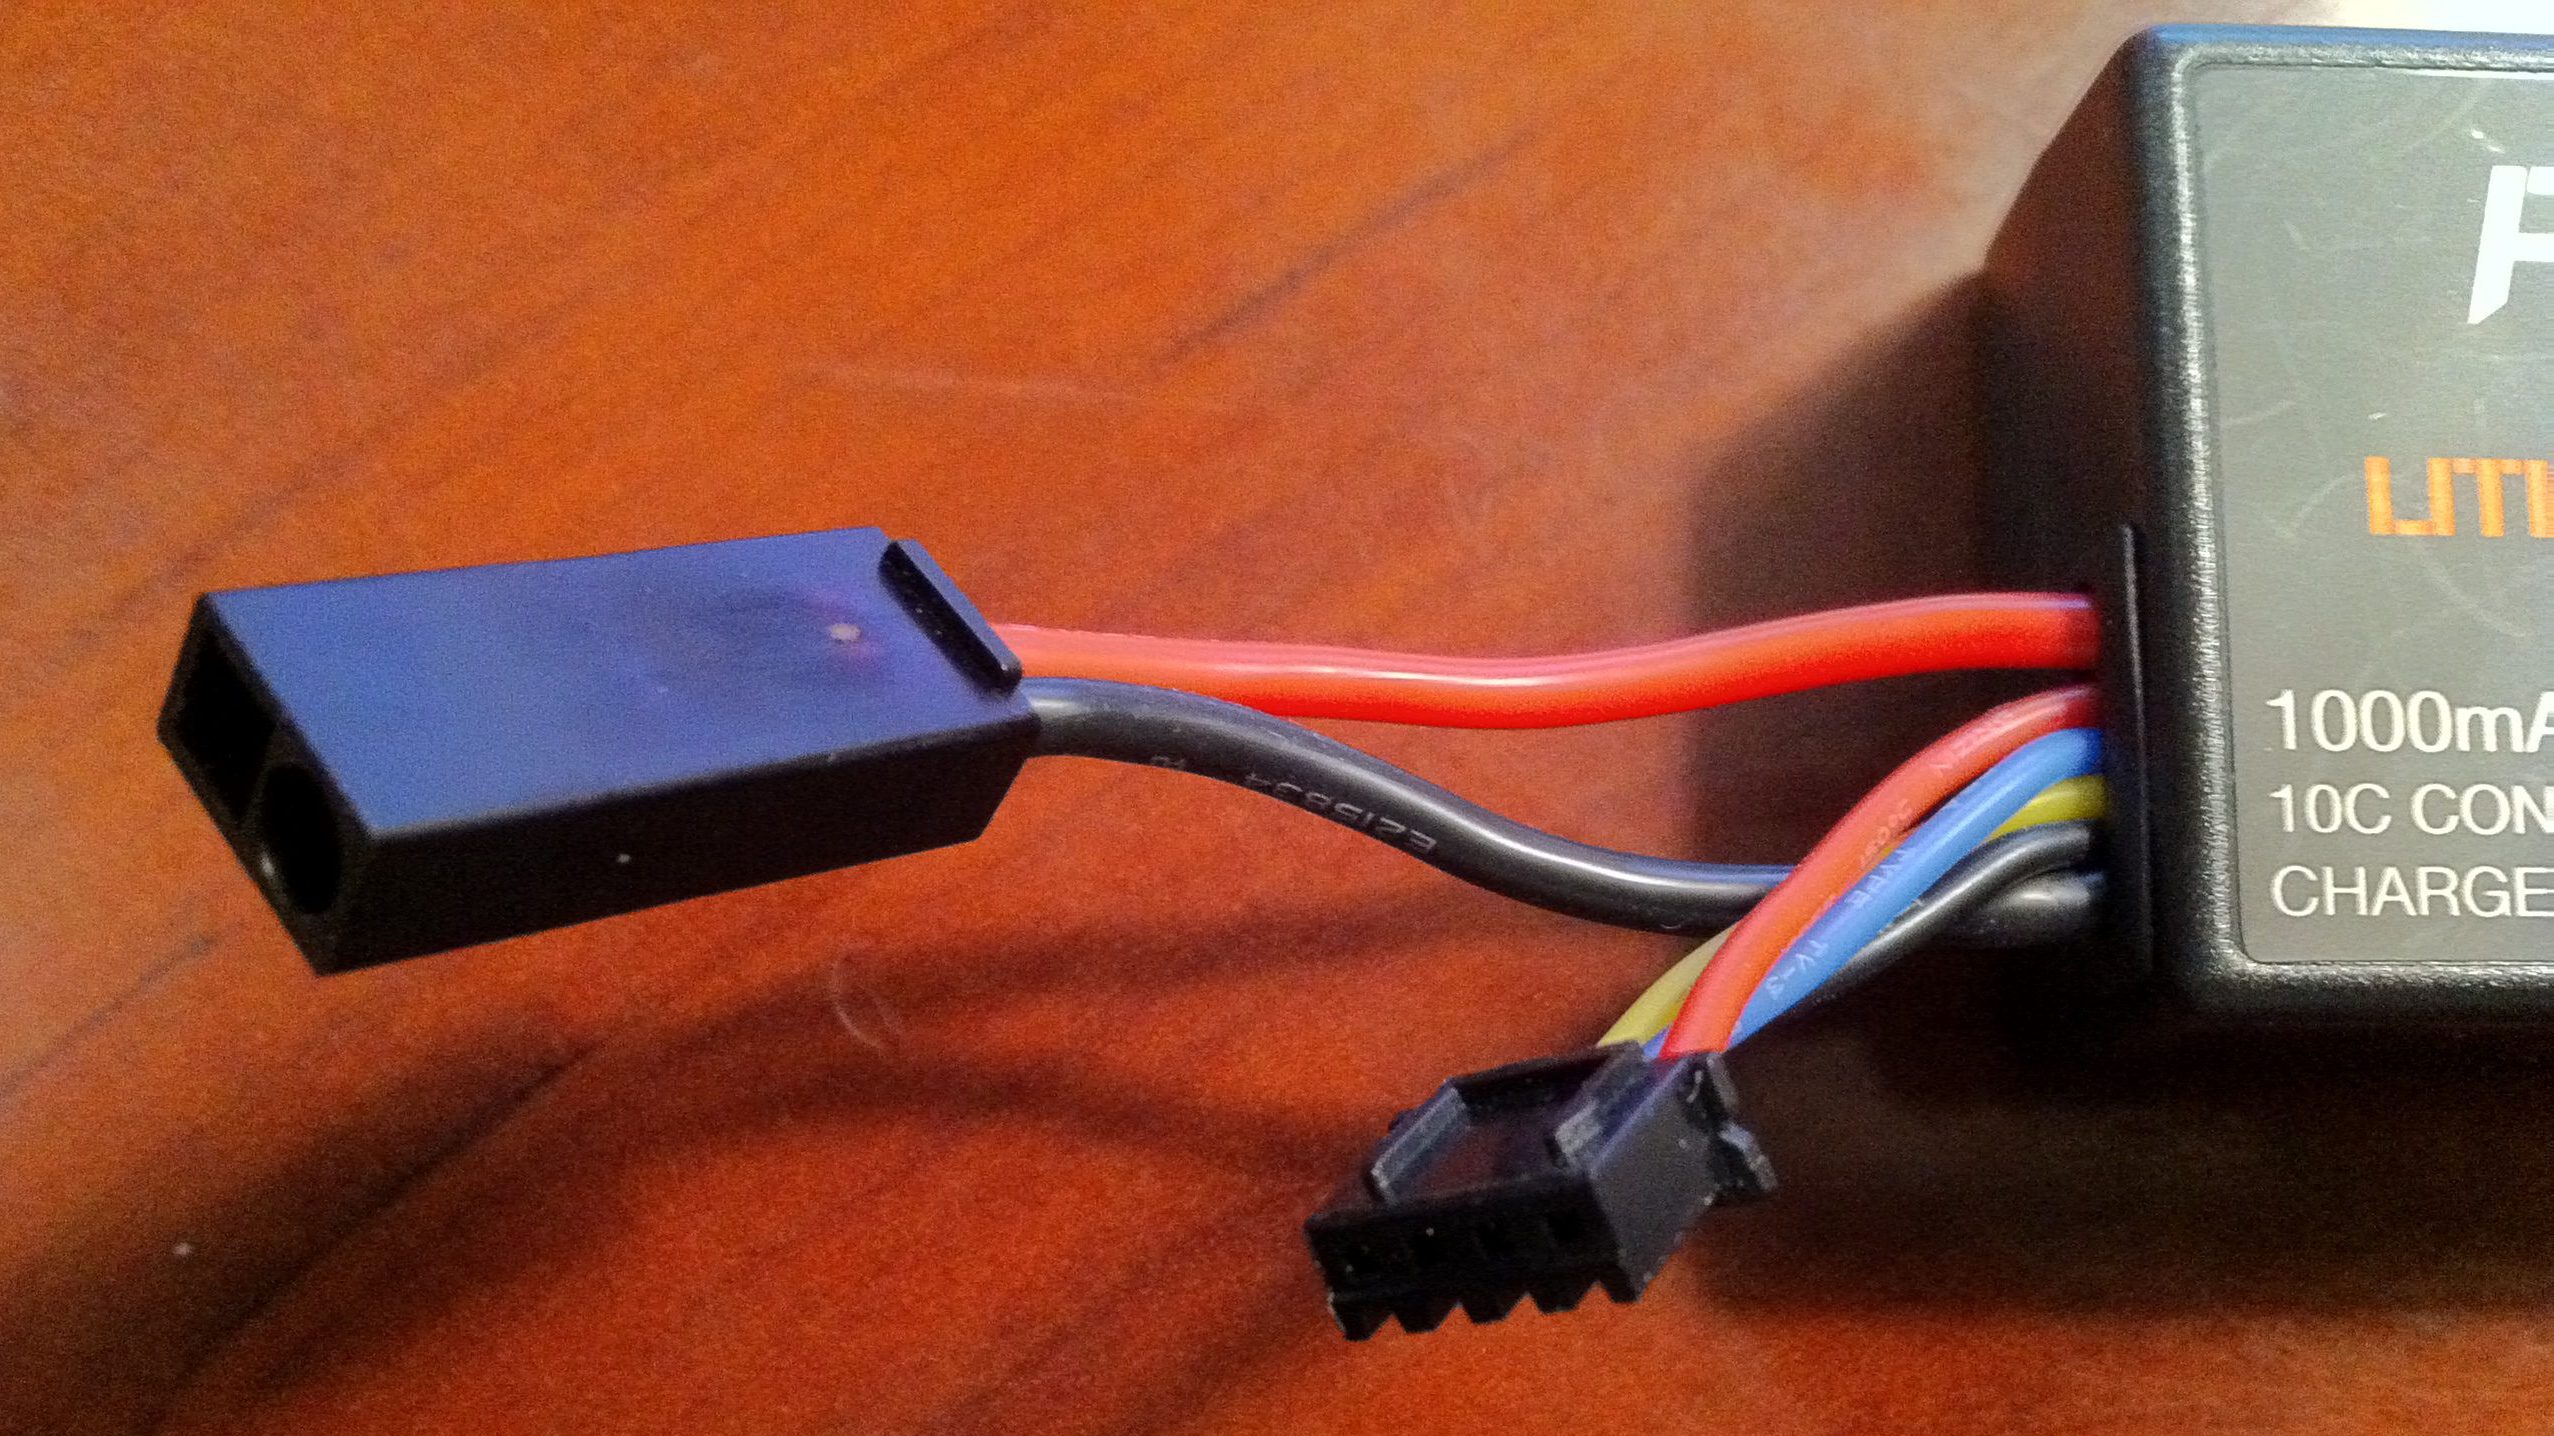
Lithium Polymer (LiPo) batteries power most drones, and their proper care directly impacts flight safety, performance, and longevity.
Critical Battery Care Practices
Temperature Management: Always allow batteries to cool to room temperature before charging. Hot batteries from recent flights should rest for 15-30 minutes before connecting to a charger. Similarly, after charging, let the batteries stabilise before flying to prevent stress on the cells.
Charging Correctly: Only use the manufacturer’s recommended charger for your drone batteries. Generic or off-brand chargers may provide incorrect voltage or current, potentially damaging batteries or creating safety hazards. Follow charging guidelines in your drone’s manual precisely.
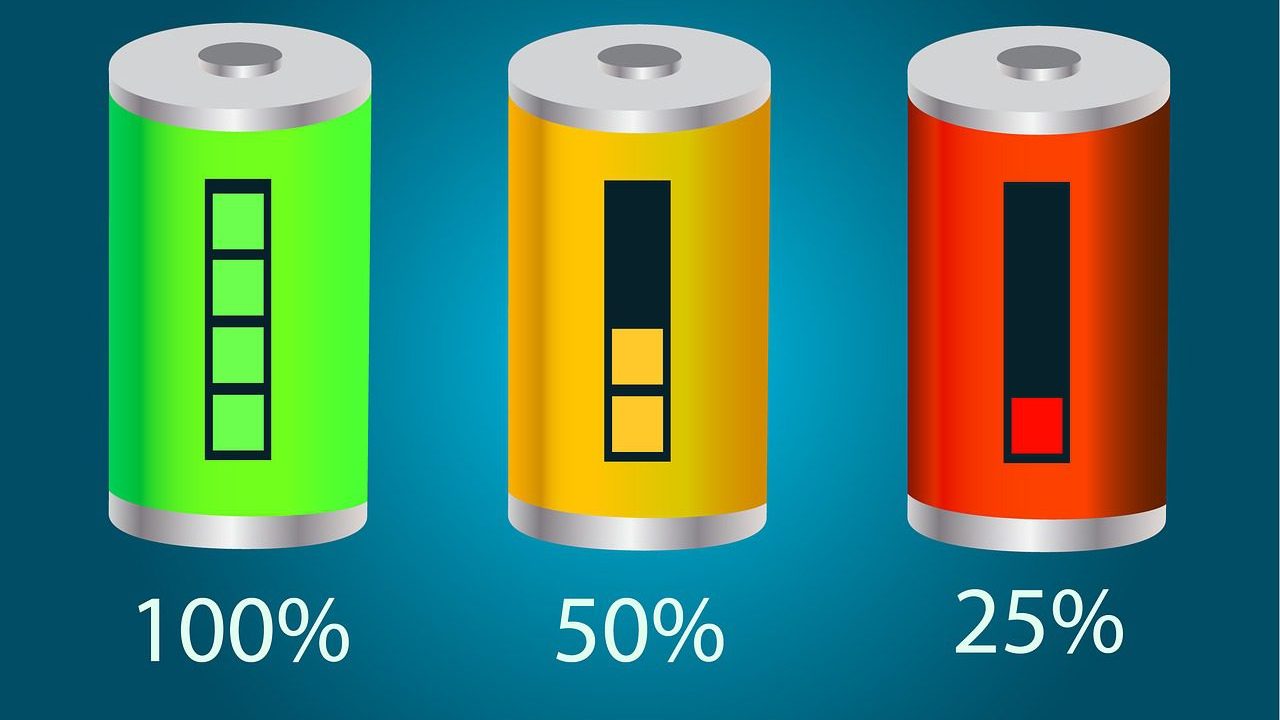
Optimal Charge Levels: LiPo batteries prefer to operate in the middle of their charge range. Avoid both extremes – don’t overcharge the batteries or leave them plugged in overnight. And second, do not use the drone if the battery is drained below 15% of the charging level. Most experienced pilots land when batteries reach 20-25% remaining capacity, balancing flight time with battery health.
Storage Charge Levels: If you won’t be flying for more than a few days, store batteries at approximately 40-60% charge. Most smart batteries automatically discharge to a storage level after several days of inactivity, but if yours don’t have this feature, manually discharge or charge them to around 50% before storage. This significantly extends battery lifespan compared to storing at full or empty states.
Storage Environment: Keep batteries in a cool (60-77°F / 15-25°C), dry place away from direct sunlight. Extreme temperatures—whether hot or cold—accelerate battery degradation. Many pilots use fireproof LiPo battery bags or metal storage boxes as an additional safety precaution, especially for travel or home storage.
Regular Inspection: Frequently examine your batteries for physical damage or swelling. A “puffed” or bulging battery indicates chemical reactions that make the battery unstable and potentially dangerous. Never use damaged or swollen batteries—they should be properly disposed of according to local regulations.
Calibration Cycles: Manufacturers typically recommend performing a full discharge/charge cycle every 20 charging sessions. This helps recalibrate the battery’s internal sensors for accurate power level reporting. However, don’t make this a frequent practice—complete discharge cycles should be occasional, not routine.
Safety During Charging: Never leave charging batteries unattended. While quality drone batteries include multiple safety circuits, charging LiPo batteries always carries a small risk. Charge on non-flammable surfaces in well-ventilated areas, away from flammable materials. Many drone enthusiasts keep a small fire extinguisher nearby as a precaution.
Battery Health Monitoring: If your drone uses smart batteries, regularly check battery health through the companion app. Watch for metrics like cycle count, capacity, and cell voltage balance. If a battery shows significant capacity reduction or cell imbalance, it’s approaching the end of its useful life and should be replaced soon.
Inspecting and Replacing Drone Propellers
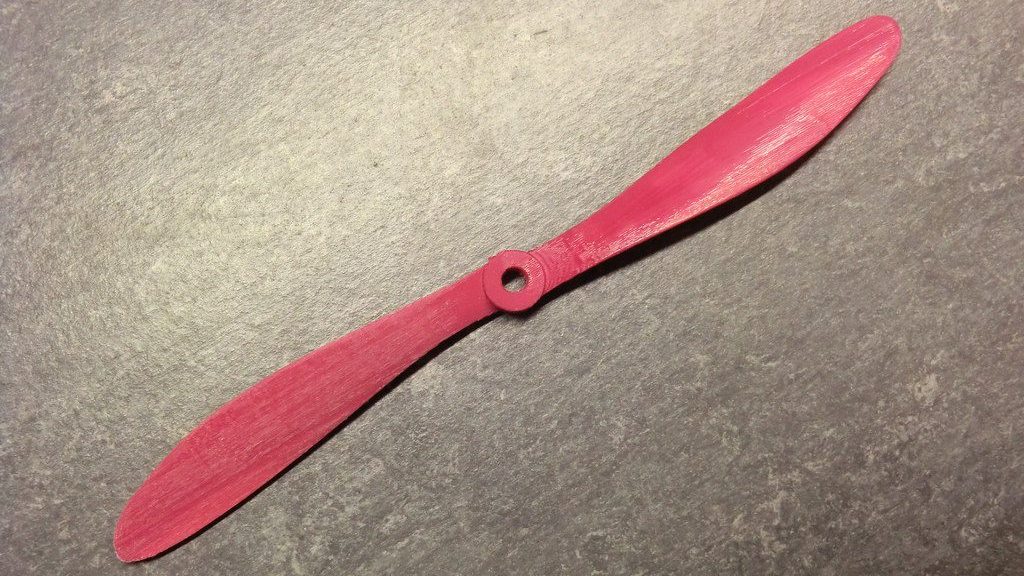
Propellers are critical to flight performance and require regular inspection and timely replacement to ensure safety and stability.
Thorough Propeller Inspection
Pre-Flight Visual Check: Before every flight, closely examine each propeller blade for any visible damage. Look specifically for:
- Hairline cracks, especially near the hub, where stress concentrates
- Chipped or nicked edges that affect aerodynamic performance
- Warping or bent blades can cause vibration
- Discolouration that might indicate material breakdown from UV exposure
Flexibility Testing: Gently flex each propeller to check for appropriate stiffness. Propellers should be firm but have some slight flexibility. Excessive brittleness (especially in plastic props) or unusual flexibility suggests material degradation and requires replacement.
Uniformity Verification: All propellers on your drone should match in condition and performance. If one propeller appears different from the others, even subtly, it could cause flight instability. Always replace propellers as complete sets to maintain balance.
Replacement Guidelines
Timely Replacements: Don’t wait for catastrophic failure—replace propellers at the first sign of damage. Even minor imperfections can grow during flight and potentially cause crashes. Most manufacturers recommend replacing propellers approximately every 50 flight hours as preventative maintenance, even without visible damage.
After Incidents: Always replace propellers after any crash or collision, even if damage isn’t immediately visible. Impact forces can create internal stresses that compromise structural integrity without obvious external signs.
Authorised Components: Use only manufacturer-recommended propellers designed specifically for your drone model. Incorrect propeller specifications can strain motors, affect flight characteristics, and potentially damage electronic speed controllers (ESCS). While third-party props can be acceptable, verify they match the exact specifications needed for your drone.
Proper Installation: When attaching propellers, ensure they’re mounted on the correct motors. Most quadcopters use a combination of clockwise and counterclockwise props. Secure them according to manufacturer guidelines, whether using self-tightening designs, lock nuts, or other securing mechanisms. A loose propeller can detach during flight with catastrophic results.
Field Readiness: Always carry multiple sets of spare propellers in your drone case. Propellers are relatively inexpensive and compact to transport, making them the perfect “insurance policy” against interrupted flying sessions. If you discover damage while in the field, you can quickly replace the affected propeller and continue flying safely.
Updating Firmware and Drone Software
Firmware updates are essential for optimal drone performance, feature enhancements, and security improvements.
Understanding Firmware Benefits
Performance Optimisation: Manufacturers continuously refine flight algorithms to improve stability, battery efficiency, and overall handling. These optimisations reach your drone through firmware updates.
Bug Fixes: Like all sophisticated technology, drones occasionally have software issues that manufacturers address through updates. These fixes can resolve problems with GPS accuracy, battery management, or camera functions.
New Features: Updates frequently add new capabilities to your drone. For example, an update might introduce new intelligent flight modes, camera settings, or safety features that weren’t available when you first purchased the device.
Safety Improvements: Critical safety enhancements, including improved obstacle avoidance, failsafe behaviors, and emergency procedures, are typically delivered through firmware updates.
Regulatory Compliance: Airspace regulations evolve, and firmware updates ensure your drone remains compliant with current rules, including geofencing databases and flight restriction zones.
Update Process Best Practices
Regular Check Schedule: Make it a habit to check for available updates every few weeks or before important flying sessions. Most drone apps will notify you of available updates, but proactive checking ensures you’re always running the latest version.
Proper Environment: Always perform updates in a controlled environment with:
- Stable Wi-Fi connection (preferably at home, not in the field)
- Sufficiently charged batteries for both drone and controller
- Enough time to complete the process without interruption
- A flat, stable surface where the drone can remain undisturbed
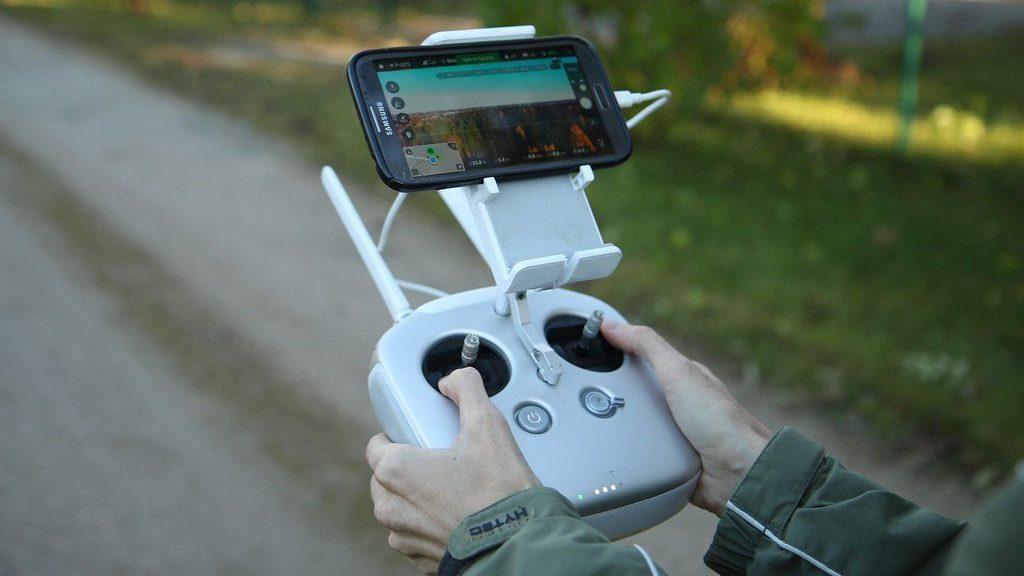
Complete Updates: Update all system components when prompted—including the drone, remote controller, and batteries. Many drones require each battery to be inserted and updated individually to ensure all components are running compatible firmware versions.
Read Release Notes: Review the information provided with each update to understand what’s changing and whether any special procedures are required after updating. This helps you anticipate new features or behaviors.
Post-Update Testing: After completing firmware updates, perform a controlled test flight in an open area to verify everything works correctly. Start with basic manoeuvres before testing any new features or flight modes.
Calibration Requirements: Major firmware updates often necessitate sensor recalibration. Follow any prompts to recalibrate the compass, IMU, or other sensors after updating. Even without explicit prompts, consider performing calibrations as a best practice following significant updates.
Sensor Calibration (Compass and IMU)
Proper sensor calibration ensures your drone flies predictably and maintains stable positioning during flight.
Compass Calibration
The compass (magnetometer) helps your drone understand its orientation relative to Earth’s magnetic field, crucial for position holding and navigation.
- When to Calibrate: Perform compass calibration in these situations:
- When flying in a new location far from your previous flights
- After travelling with your drone, especially by air
Following firmware updates
- When the drone displays compass error messages.
- If you notice the drone “drifting” or spinning while attempting to hover.
- If the drone was near strong magnetic fields or large metal objects.
Calibration Environment:
- Choose an open outdoor area away from
- Buildings with steel structures
- Power lines or electrical equipment
- Large metal objects like vehicles
- Personal electronics that could cause interference
Calibration Process: While specific procedures vary by manufacturer, most involve:
- Initiating calibration through your drone’s app
- Rotating the drone horizontally (parallel to the ground) until prompted
- Rotating the drone vertically (perpendicular to the ground) until prompted
- Waiting for confirmation that calibration is complete
Restarting the drone to apply the calibration
Quality Verification: After calibration, observe how the drone behaves during initial hover. It should maintain a stable position without drifting or rotating. If problems persist, retry calibration in a different location further from potential interference sources.
IMU Calibration: The Inertial Measurement Unit combines accelerometers and gyroscopes to detect motion and maintain stability.
Signs IMU Calibration is Needed:
- Drone tilts or drifts even in calm conditions
- Erratic flight behaviour or difficulty maintaining altitude
- “IMU error” messages in your app
- After any hard landing or crash
- Following significant temperature changes between flights
Calibration Conditions: Unlike compass calibration, IMU calibration requires:
- A perfectly level surface (use a bubble level if available)
- Indoor environment protected from wind or air currents
- Temperature-stable location (not immediately after bringing the drone in from cold outdoor conditions)
- Complete drone stillness during the process
Typical Process:
- Place the drone on a level surface
- Access IMU calibration in your app’s settings menu
- Follow prompts, which may include positioning the drone in different orientations
- Keep the drone completely still during each calibration stage
- Allow the process to complete fully (can take several minutes)
- Restart the drone to implement calibration
Validation Check: After IMU calibration, perform a cautious test hover at low altitude, watching for any unusual tilting or altitude fluctuations. The drone should hover steadily with minimal automatic corrections.
Regular calibration, especially before important flights or when changing environments, takes just a few minutes but significantly improves flight reliability and precision.
Proper Drone Storage and Transportation
How you store and transport your drone directly impacts its longevity and readiness for flight.
Protective Storage Solutions
Dedicated Drone Case: Invest in a quality case designed specifically for your drone model. The best options feature:
- Custom-cut foam inserts that hold components securely
- Impact-resistant exterior shell
- Water-resistant or waterproof sealing
- Compartments for accessories, batteries, and tools
- Comfortable carrying handles or straps
Component Arrangement: Organise your drone and accessories to prevent movement and contact damage:
- Remove propellers during storage or use propeller guards
- Secure the gimbal with its protective cover or clamp
- Store batteries in dedicated fire-resistant LiPo bags
- Use cable organisers to prevent connector damage
- Secure the remote controller with stick protectors if available
- Environmental Considerations: Store your drone in conditions that protect electronic components:
- Maintain room temperature between 60-80°F (15-27°C)
- Keep humidity levels moderate (30-50% is ideal)
- Avoid direct sunlight exposure, which can degrade plastics
- Add silica gel packets to absorb moisture, especially in humid climates
- Store away from dust sources and household chemicals
Safe Transportation Practices
Pre-Transport Preparation:
- Fully secure all latches and zippers on your case
- Remove or secure batteries to prevent movement
- Ensure the gimbal lock is engaged to prevent movement damage
- If using a backpack-style case, adjust the straps for proper weight distribution
Vehicle Transportation:
- Avoid leaving your drone in vehicles during extreme temperatures
- Secure the case to prevent sliding during stops or turns
- Keep out of direct sunlight coming through windows
- Consider using a sunshade or insulated cover in hot conditions
Air Travel Considerations:
- Always carry lithium batteries in your carry-on luggage (required by regulations)
- Discharge batteries to approximately 30-50% charge for air travel
- Consider TSA/security requirements—have documentation ready for inspection
- Attach identification to your case with contact information
- Check airline policies regarding drone transportation before your trip
Arrival Readiness Check: Before your first flight after transportation, perform a thorough inspection:
- Check for any components that may have shifted during transport
- Inspect for stress or damage that might have occurred
- Remove the gimbal cover and verify smooth movement
- Ensure all connections are secure
- Perform a brief power-up test before heading to your flying location
Proper storage and transportation practices prevent physical damage and ensure your drone is ready for immediate use when you reach your destination.
Routine Drone Maintenance Schedule
Establishing a consistent maintenance routine helps ensure nothing is overlooked and extends your drone’s usable lifespan.
Pre-Flight Checklist (Every Flight)
Take these quick steps before each flight session:
- Battery verification: Ensure flight batteries and the controller are fully charged
- Propeller inspection: Check all blades for damage and secure attachment
- Physical inspection: Verify arms, landing gear, and gimbal move freely
- Sensor check: Confirm cameras and sensors are clean and unobstructed
- Controller test: Verify all sticks and buttons function properly
- Firmware status: Ensure you’re not flying with pending critical updates
- Environmental assessment: Check wind, visibility, and potential interference sources
This 2-minute pre-flight routine prevents many common incidents and gives you confidence in your equipment.
Post-Flight Maintenance (After Every Session)
These steps take just 5 minutes but significantly extend component life:
- Power down properly: Turn off drone and remove battery
- Visual inspection: Look for new damage, loose parts, or debris
- Basic cleaning: Wipe down exterior and remove obvious dirt
- Cool-down period: Allow motors and batteries to reach room temperature
- Battery management: Store at appropriate charge levels if not flying again soon
- Secure storage: Place in case with gimbal protection engaged
Bi-Weekly or Every 10 Flights (Deeper Maintenance)
Perform these more thorough checks regularly:
- Deep cleaning: Remove propellers for thorough motor cleaning
- Fastener check: Verify all screws and connections remain tight
- Propeller evaluation: Consider replacement even without obvious damage
- Battery diagnostics: Check health metrics and cycle counts
- Firmware update: Check for and install available software updates
- Comprehensive calibration: Recalibrate compass and IMU as preventative measure
- Flight log review: Identify any recurring warnings or abnormalities
Monthly or Every 20-30 Flights (Comprehensive Review)
This deeper inspection catches developing issues:
- Motor assessment: Check for smooth rotation and unusual sounds
- Stress point inspection: Examine folding mechanisms and connection points
- Controller maintenance: Clean joysticks and check antenna connections
- Camera evaluation: Test gimbal through full range of motion
- Battery comparison: Compare performance between batteries to identify weaker units
- Test flight: Perform controlled flight specifically to evaluate performance
After Incidents (Immediate Inspection)
Following any crash, collision, or hard landing:
- Structural inspection: Check frame integrity and component alignment
- Electronic testing: Verify all systems power up correctly
- Motor and propeller replacement: Replace affected components, even without visible damage
- Calibration requirements: Perform full sensor recalibration
- Controlled test flight: Conduct a cautious evaluation flight before returning to normal operations
Creating calendar reminders for regular maintenance or tracking flight hours helps ensure maintenance tasks aren’t forgotten as you enjoy your drone.
Troubleshooting Common Drone Issues
Even well-maintained drones occasionally experience problems. Knowing how to identify and address common issues saves time and prevents further damage.
Power and Startup Problems
Drone Won’t Power On:
- Verify that the battery is properly seated and charged
- Check for debris or damage to battery connectors
- Try an alternate battery if available
- Ensure you’re using the correct power button sequence (some require specific press patterns)
- Look for physical damage that might affect power distribution
Battery Drains Quickly:
- Consider environmental factors (cold weather reduces battery efficiency)
- Check for unusually high motor resistance or propeller damage
- Evaluate battery age and cycle count
- Check for processing-intensive settings (high-resolution recording, etc.)
- Update firmware to address potential power management bugs
Flight Performance Issues
Unstable Hovering or Drifting:
- Recalibrate the compass away from interference sources
- Perform IMU calibration on a perfectly level surface
- Check propellers for damage or incorrect installation
- Verify motors spin freely and without unusual sounds
- Consider environmental factors like wind or magnetic interference
Altitude Instability:
- Check barometric sensor openings for blockage
- Update firmware to address potential sensor calibration issues
- Verify propeller condition and motor performance
- Consider air pressure changes if you’ve traveled to different elevation
GPS Problems or Poor Positioning:
- Ensure adequate satellite coverage (usually 7+ satellites)
- Move away from buildings, trees, and other obstacles
- Check for interference from nearby electronic equipment
- Update firmware to address GPS optimization improvements
- Wait longer for GPS initialization in new locations
Camera and Gimbal Difficulties
Blurry or Poor-Quality Images:
- Clean camera lens with appropriate materials
- Check for protective film that should be removed
- Verify camera settings (focus, resolution, etc.)
- Ensure SD card meets speed requirements for selected recording mode
- Update firmware to address potential camera software issues
Gimbal Not Stabilizing:
- Check for physical obstructions or forgotten transport locks
- Calibrate gimbal through app settings
- Verify gimbal motors aren’t overheating
- Look for bent components or alignment issues
- Consider vibration sources (like damaged propellers)
Connectivity Problems
Controller Connection Issues:
- Verify controller battery charge
- Check antenna orientation and position
- Restart both drone and controller
- Ensure operating within maximum control distance
- Update firmware on both controller and drone
Video Transmission Problems:
- Check for interference sources (Wi-Fi networks, power lines)
- Adjust antenna positioning for optimal signal
- Select appropriate transmission channel if adjustable
- Ensure operating within video transmission range limits
- Confirm video settings match capabilities (resolution vs. range tradeoffs)
When to Seek Professional Help
While many issues can be resolved through troubleshooting, certain situations warrant professional assistance:
- Internal water damage
- Significant crashes with structural damage
- Electrical burning smell or visible component damage
- Persistent problems after attempting all troubleshooting steps
- Issues with recently repaired components
Most manufacturers offer service centres or authorised repair options. Consulting these professionals can often save money compared to attempting complex repairs without proper tools or expertise.
Final Verdict on Keep Your Drone Safe
Drone maintenance isn’t just about fixing problems—it’s about preventing them before they occur. By following this comprehensive guide, you’ll develop habits that significantly extend your drone’s lifespan while ensuring each flight is as safe and enjoyable as possible.
Remember that consistency is key: small, regular maintenance tasks prevent the need for major repairs or replacements. Create a personal maintenance schedule based on your flying frequency, and stick to it diligently.
With proper care, your drone will deliver reliable performance flight after flight, allowing you to focus on capturing amazing aerial footage or simply enjoying the freedom of flight.
Happy flying!
You can also check related topics about drones: